Configure squid transparent proxy on pfsense

In this post I will show you how you can install squid proxy on pfsense and configure as a transparent proxy.
Install Squid Package on pfSense
Go to the System > Package Manager and search to squid.
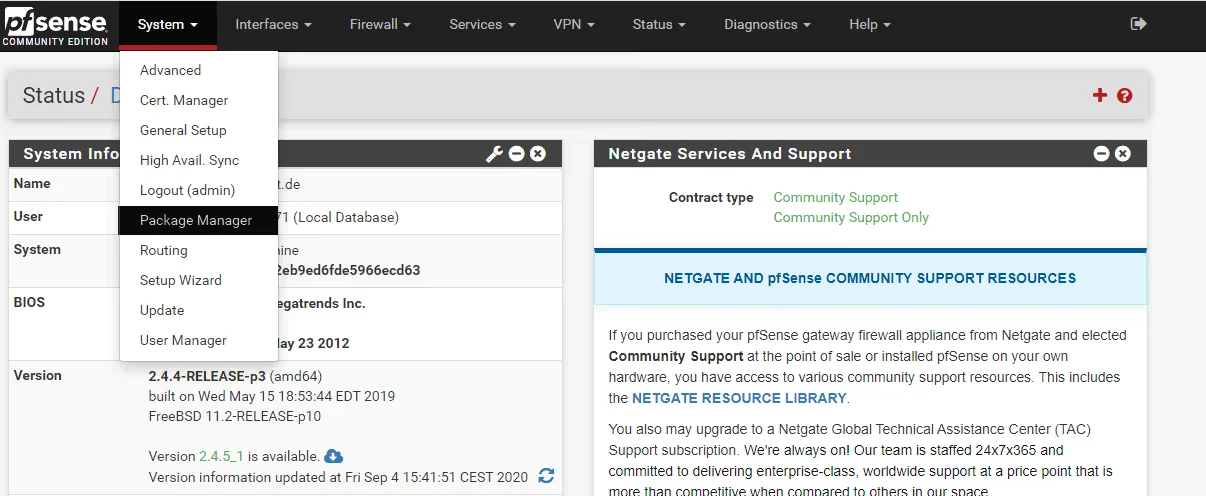
Then install squid and SquidGuard package:
Configuring Squid Proxy Server on pfSense
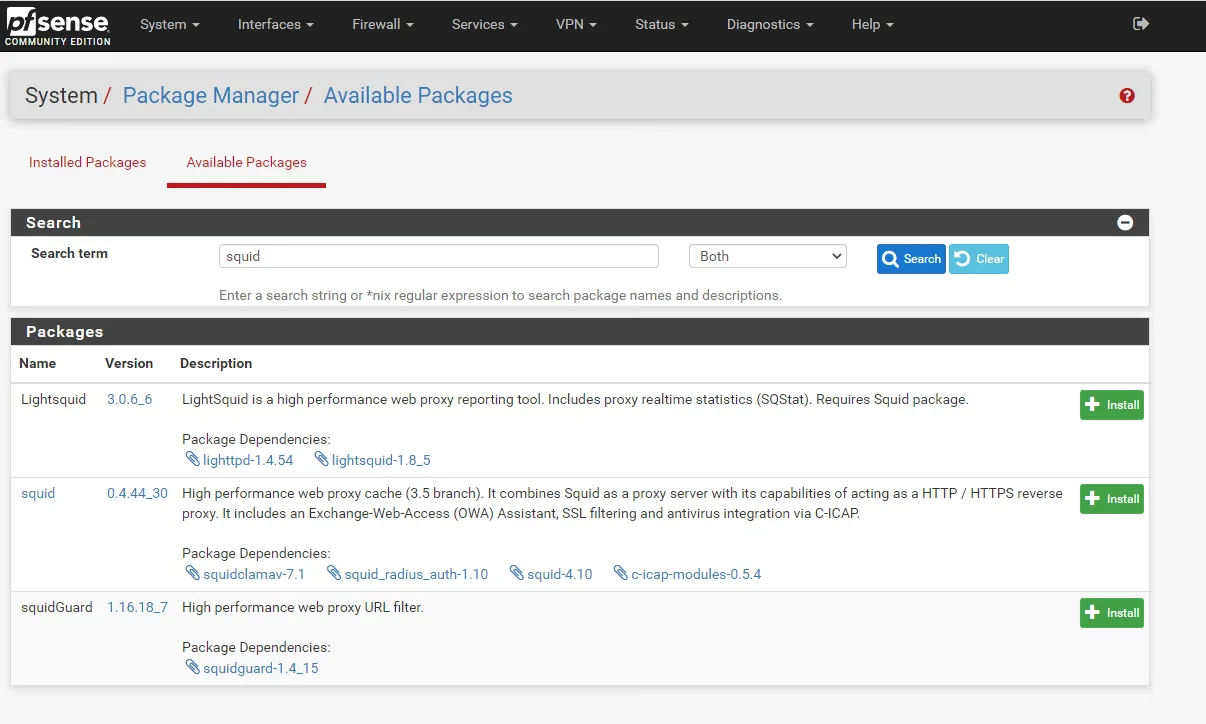
Go to Services > Squid Proxy Server To enable the Squid Proxy we have to check Enable Squid Proxy.
Here you can select under Proxy Interface(s), the interface which the proxy server should listen and bind to. Also be sure that Allow Users on Interface is checked. If this is checked, the subnets for the interfaces selected will automatically have access. There will be no need to add them on the Access Control Lists (ACLs) tab.
If you enable Transparent HTTP Proxy the clients do not need any additional configuration like environment variables or proxy settings in the browser to use the forward proxy.

By default Transparent HTTP Proxy only forwards requests for destination port 80. In order to proxy HTTPS the proxy should know the requested host and port number which will be encrypted with POST and GET requests with transparent proxy. Therefore you should enable intercepting SSL connections or configure WPAD/PAC option on the DNS/DHCP server in order to let the client send CONNECT requests.
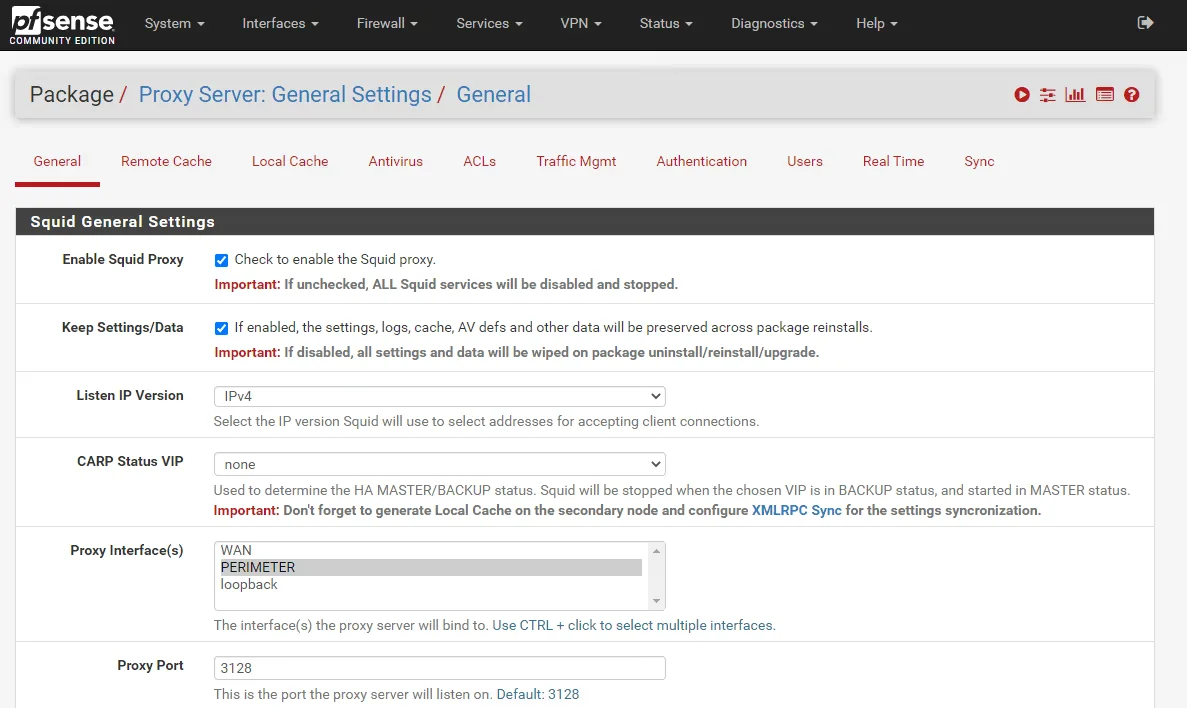
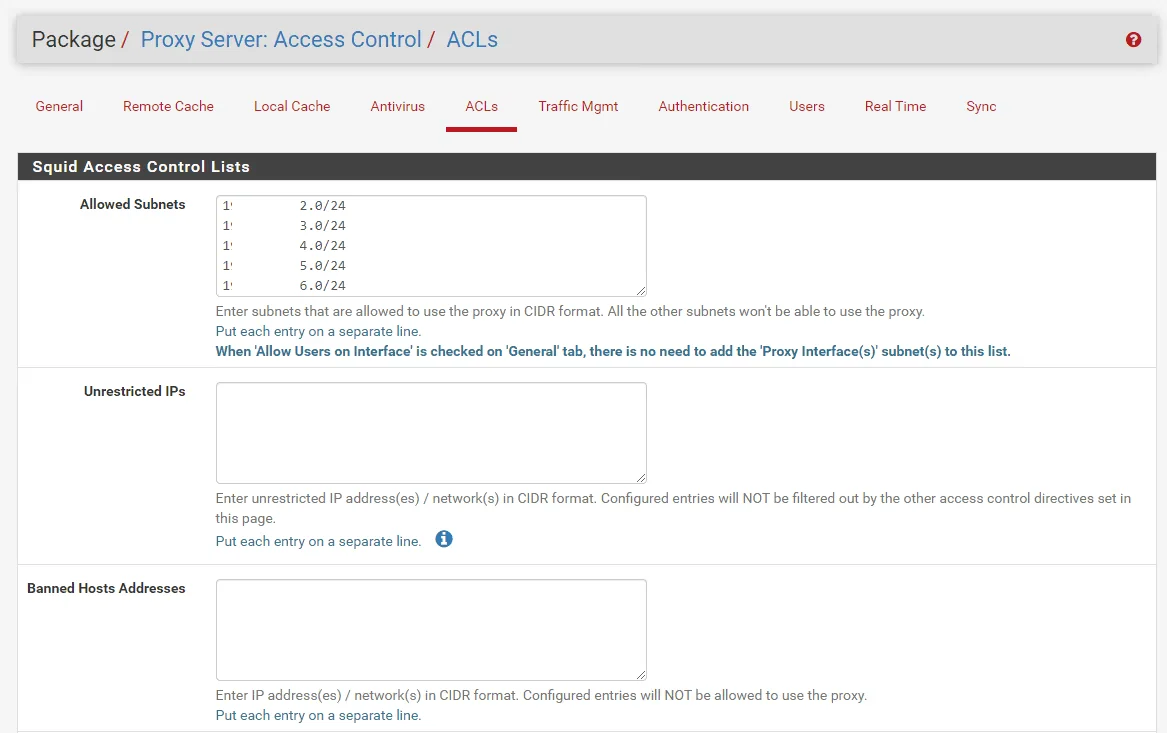
Access Control Lists (ACLs)
In the ACLs tab for now we only configured above our allowed subnets who can access and request outbound internet access.
Configure Squid Proxy Logging Settings
Default Logging is not enabled. If you want to enable Access Logging go to Logging Settings under the General menu tab.

Under the Real Time tab you can see the latest access logs regarding requested destinations from the clients.
