Active Directory Configure secure LDAPS

In this post I will show you how you can configure LDAPS in Active Directory.
Install Certificate Authority
-
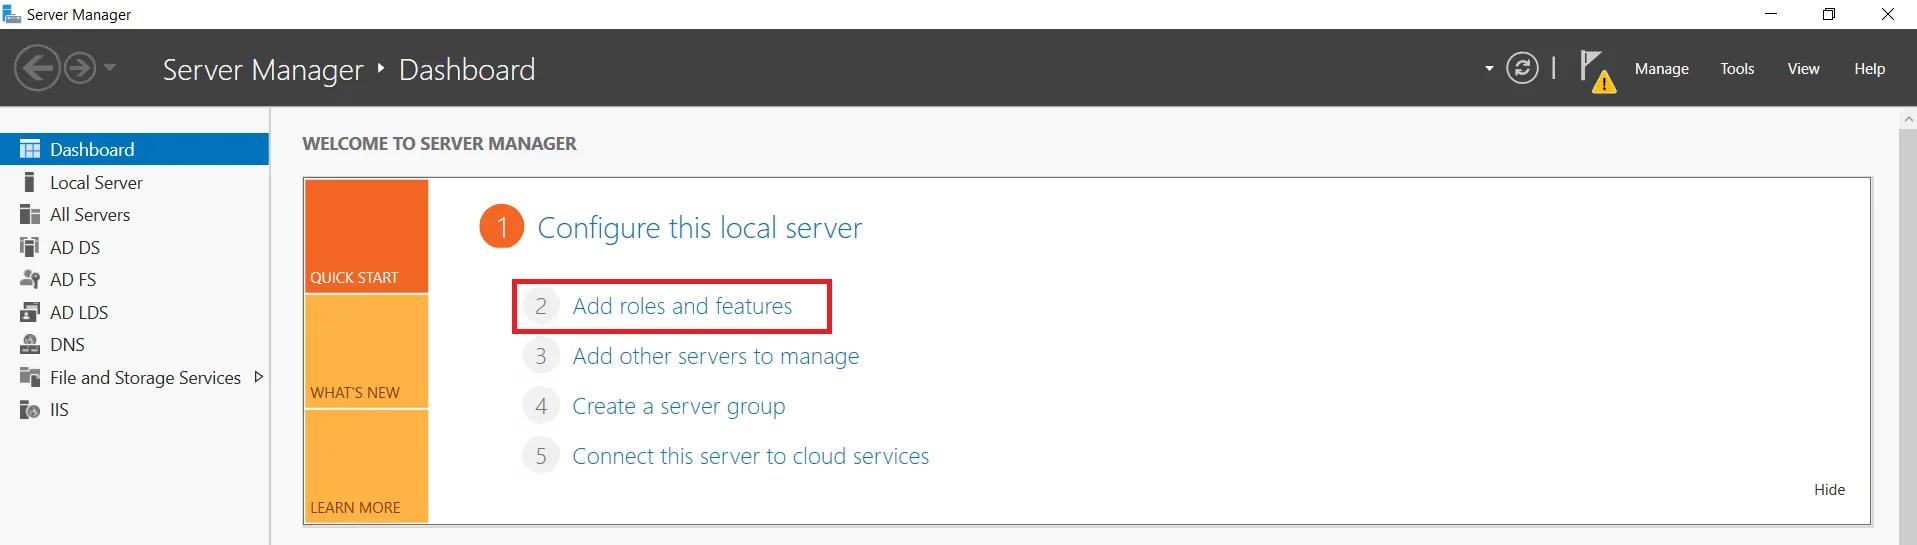
On your Windows Server Machine, click on Start -> Server Manager -> Add Roles and Features.
-
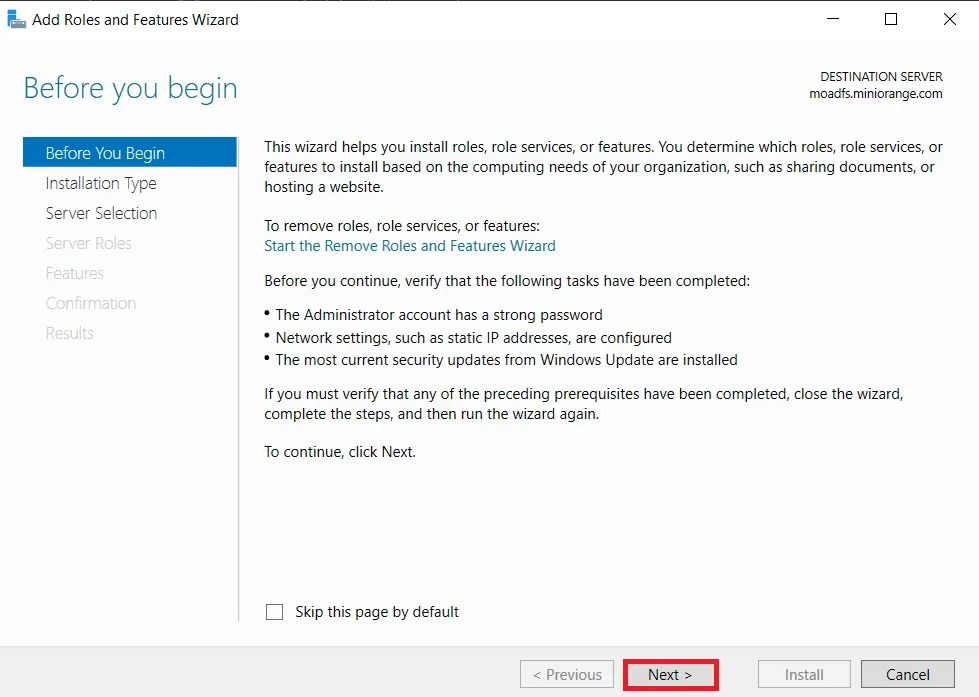
After selecting Add Roles and Features and Click on Next.
-
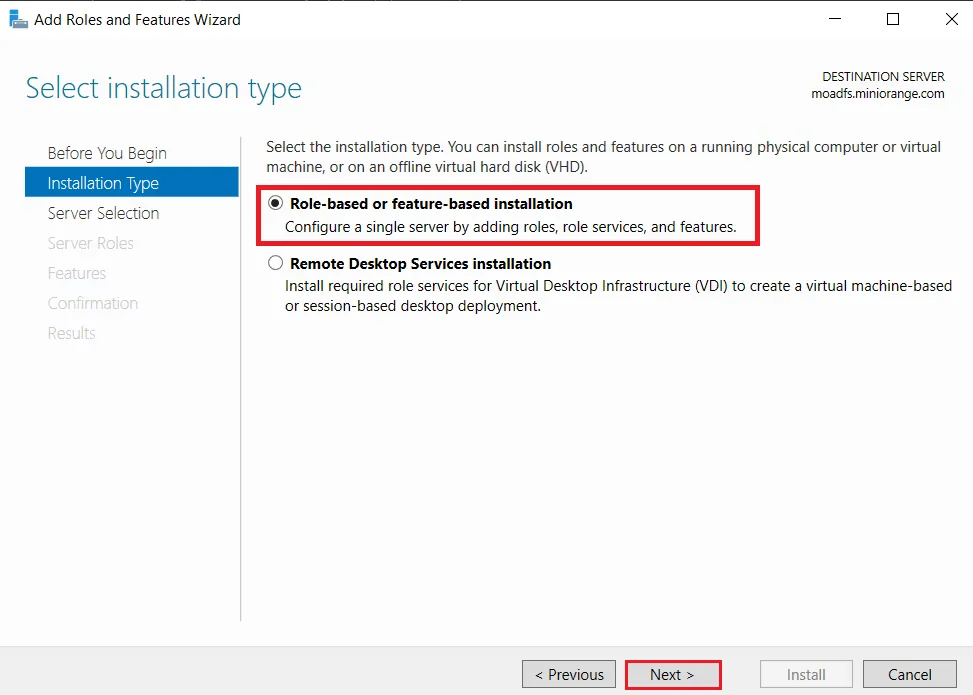
Choose Role-based or feature-based installation option and Click on Next button.
-
Choose Select a server from the server pool option & Select ldap server from the server pool and click on Next button.

-
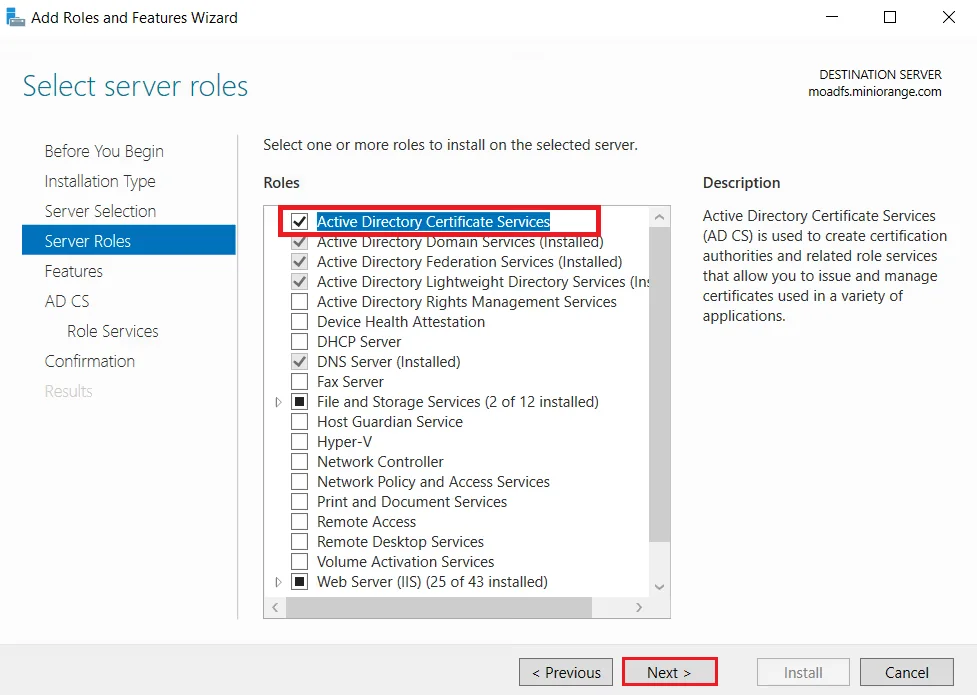
Choose Active Directory Certificate Services option from the list of roles and click on Next button.
-
Choose nothing from the list of features and click on Next button.
-
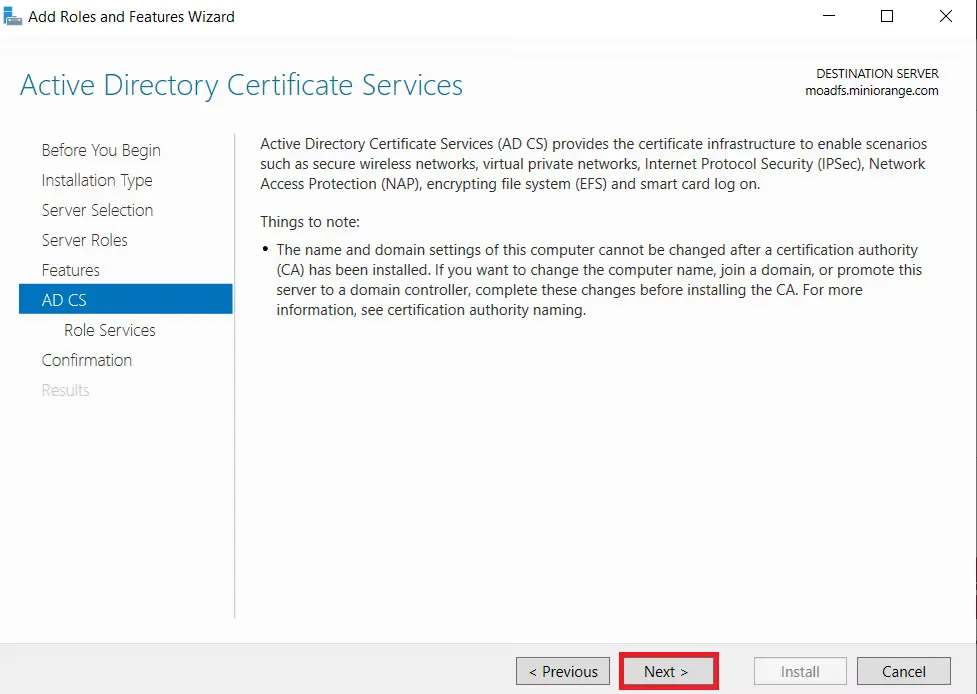
In Active Directory Certificate Services (AD CS) choose nothing and Click on Next button.
-
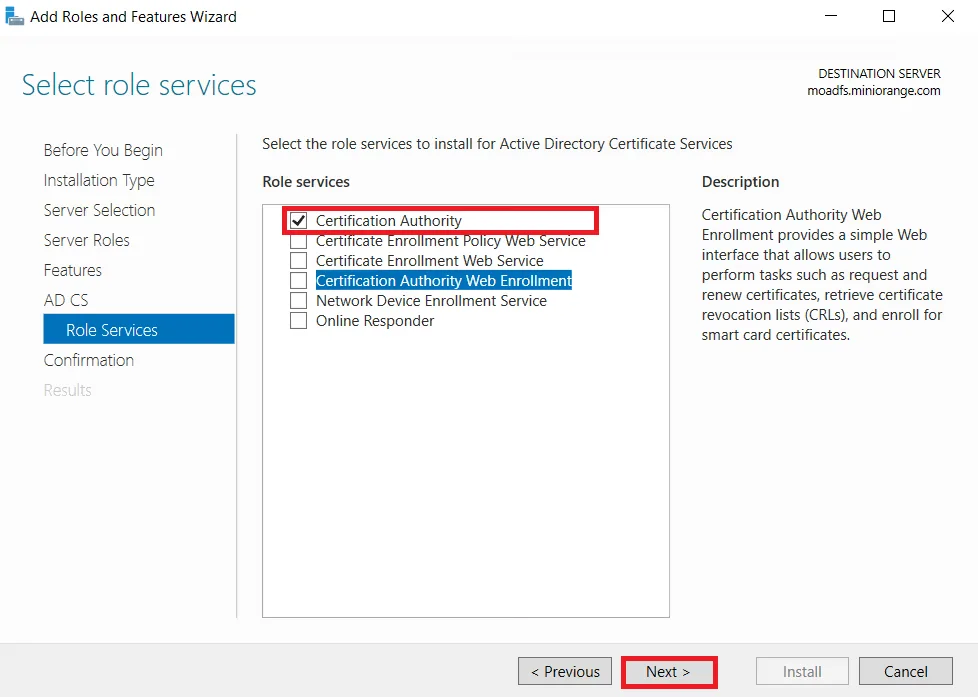
Mark Certification Authority from the list of roles and Click on Next button.
-
Click on Install button to confirm installation.
-
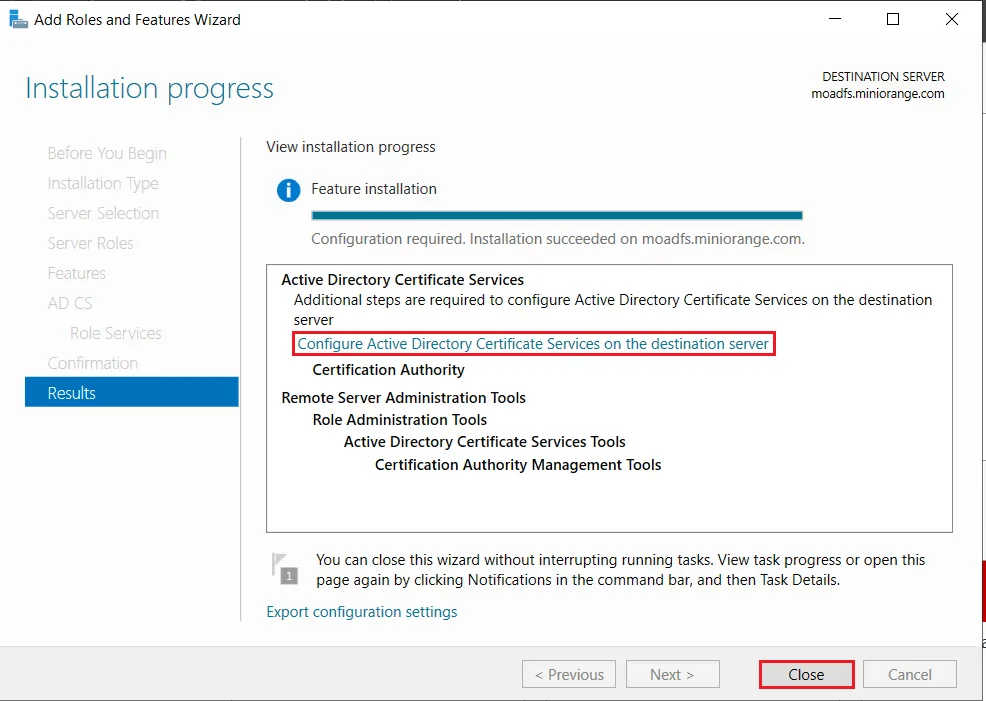
Now, click on Configure Active Directory Certificate Services on Destination Server option and click on Close button.
-
We can use the currently logged on user to configure role services since it belongs to the local Administrators group. Click on Next button.
-
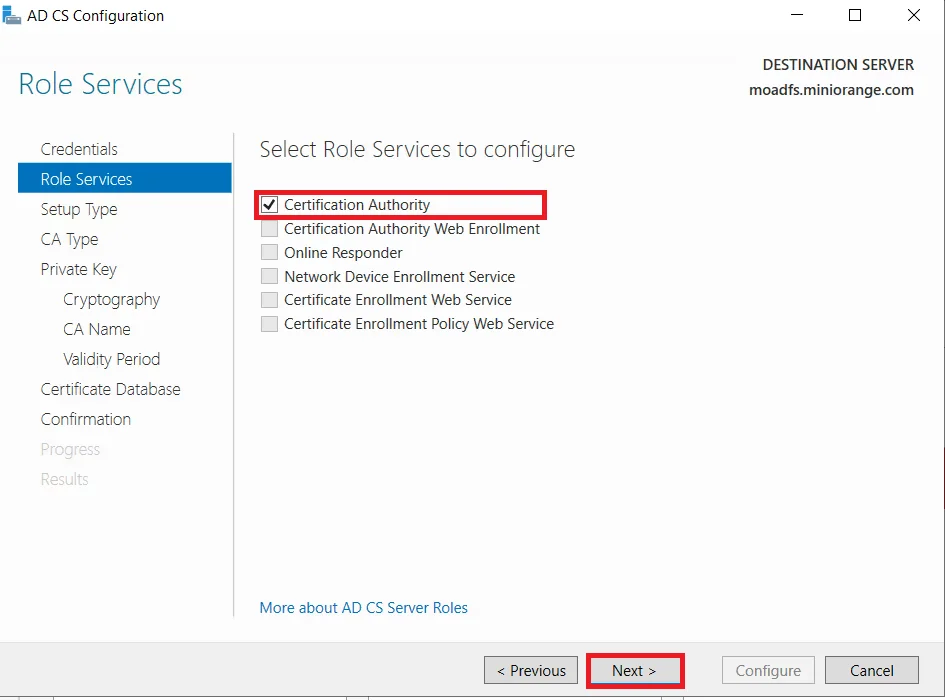
Mark Certification Authority from the list of roles and Click on Next button.
-
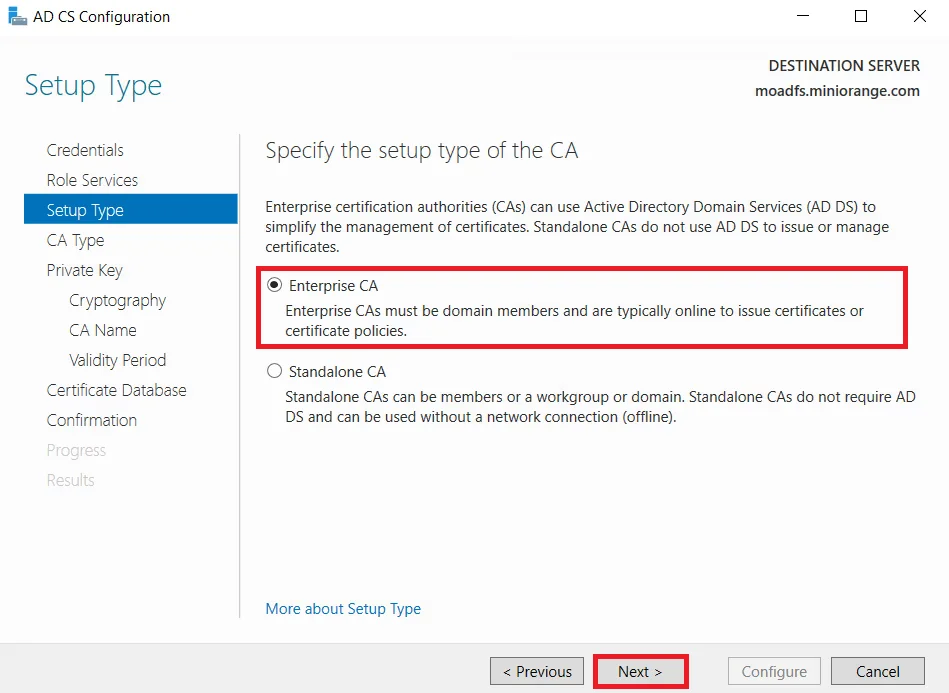
Choose Enterprise CA option and Click on Next.
-
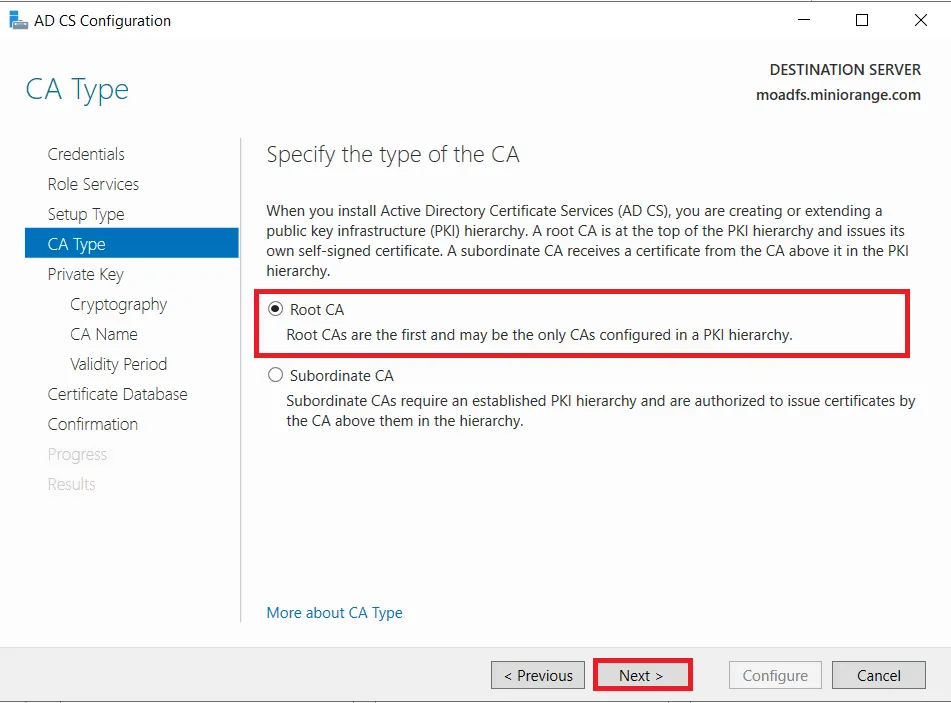
Choose Root CA option and Click on Next button.
-
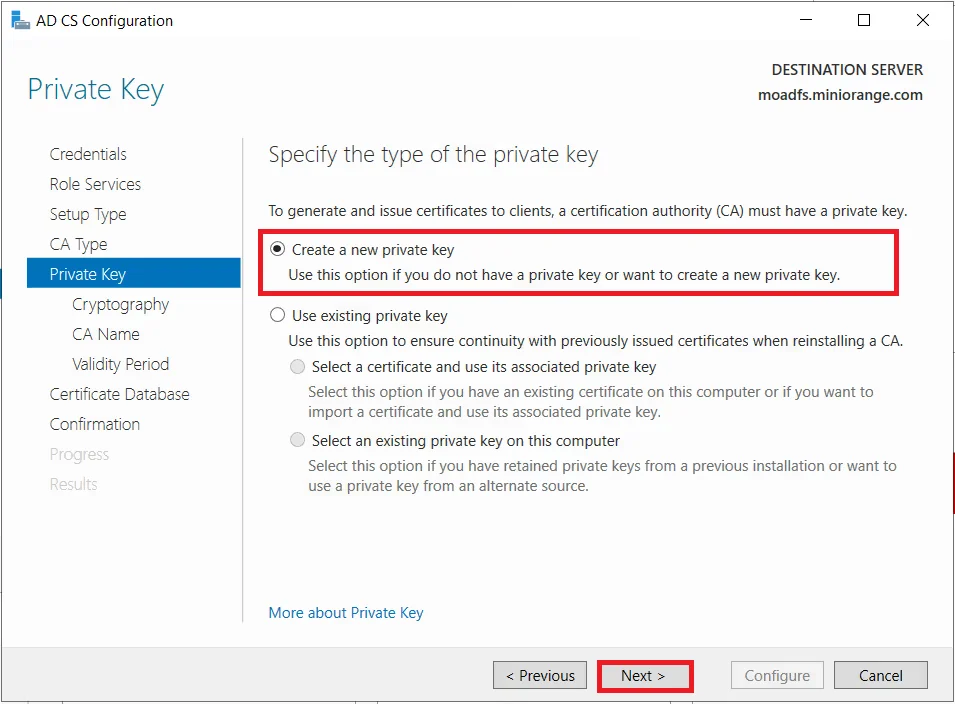
Choose Create a new private key option and Click on Next button.
-
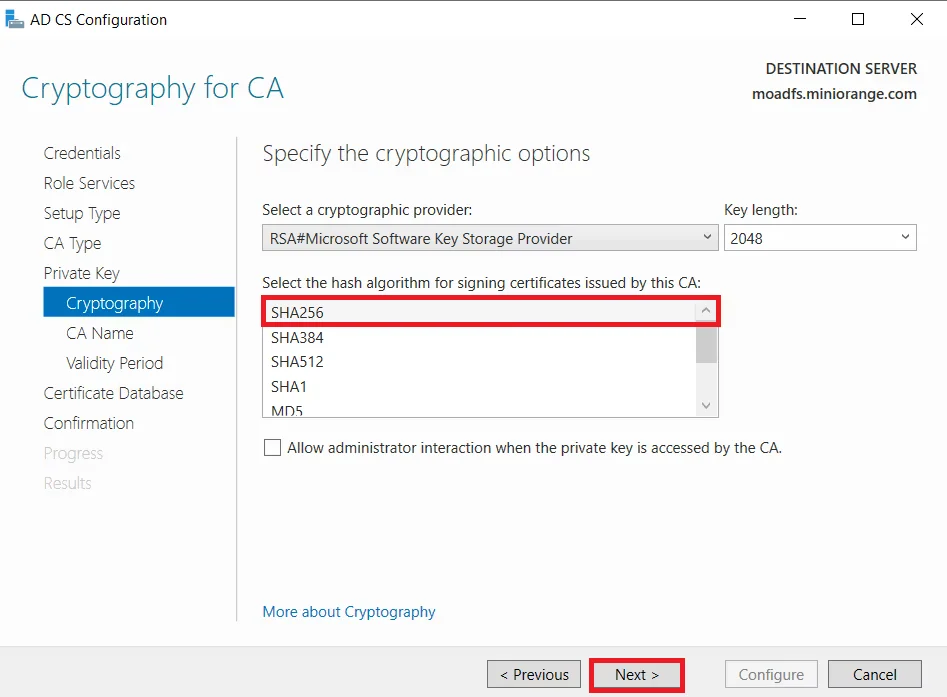
Choose SHA256 as the hash algorithm and Click on Next. UPDATE : Recommended to select the most recent hashing algorithm.
-
Click on Next button.
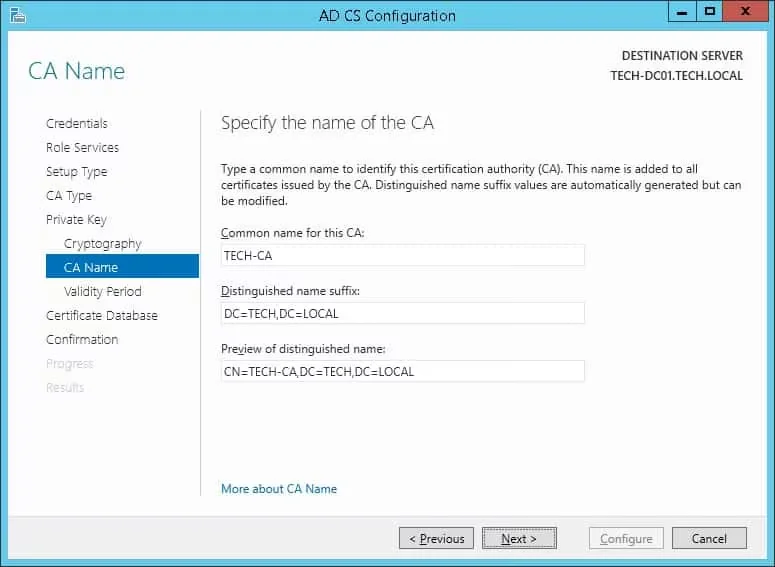
-
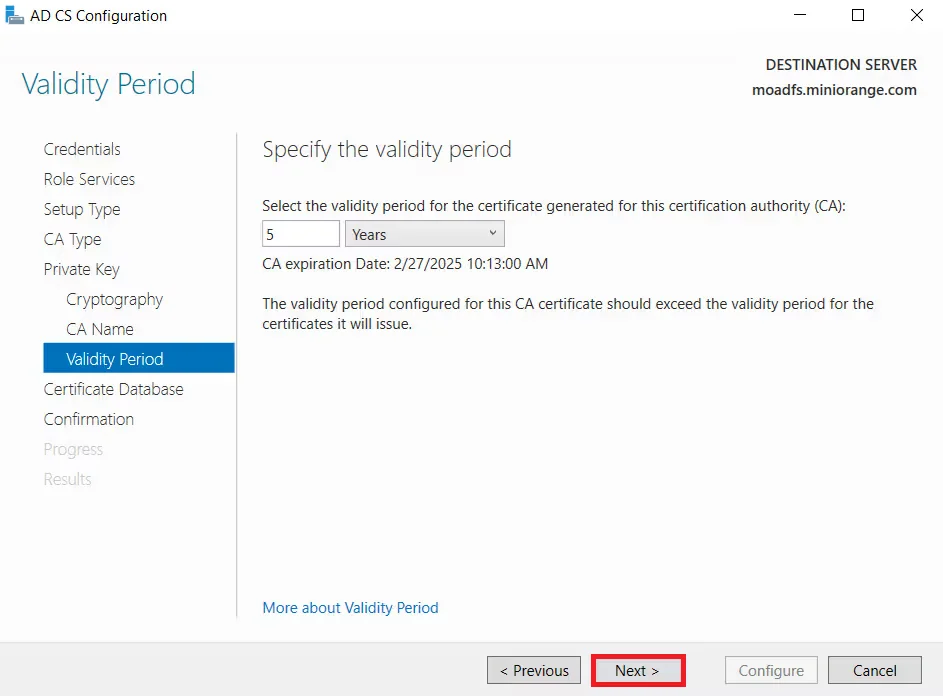
Specify the validity of the certificate choosing Default 5 years and Click on Next button.
-
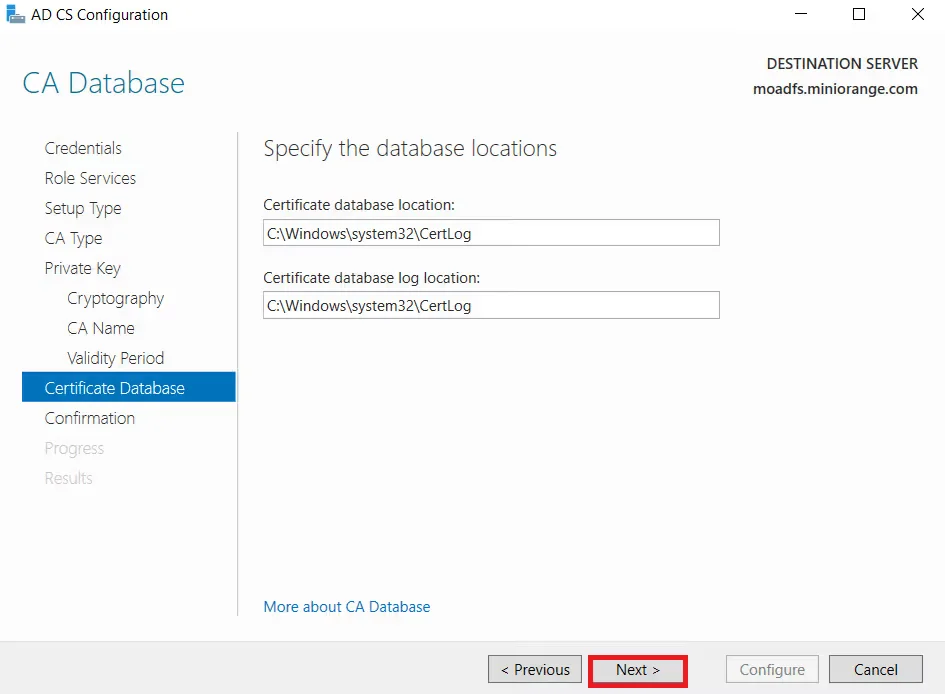
Select the default database location and Click on Next.
-
Click on Configure button to confirm.
-
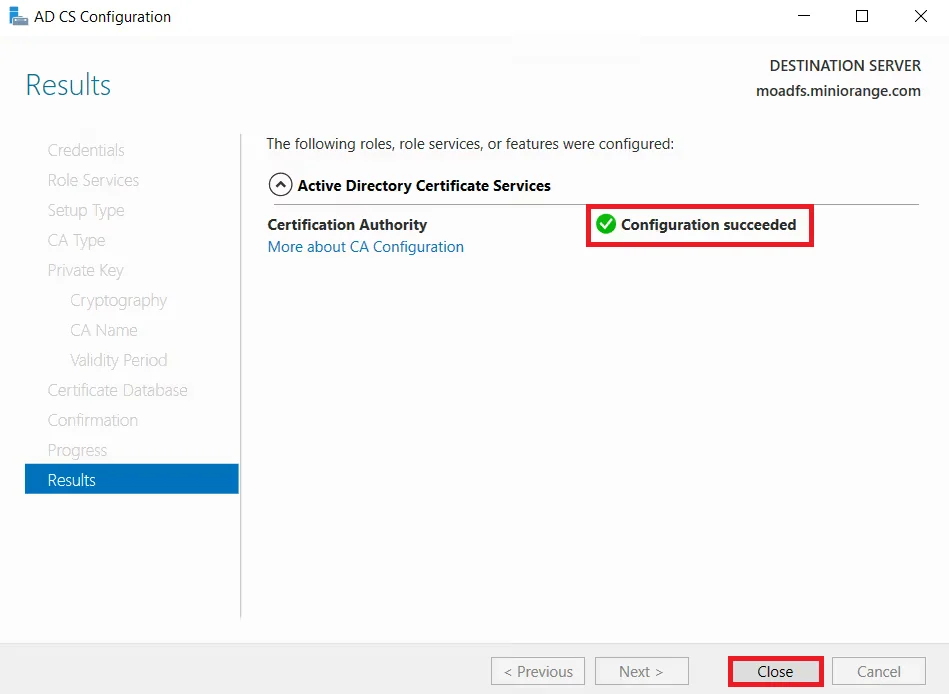
Once the configuration succeeded and click on Close button.
Configuring secure LDAP:
- At restart the Domain Controller Will generate a new Certificate fos self.
Test LDAPS
- windows + R
- Run: ldp
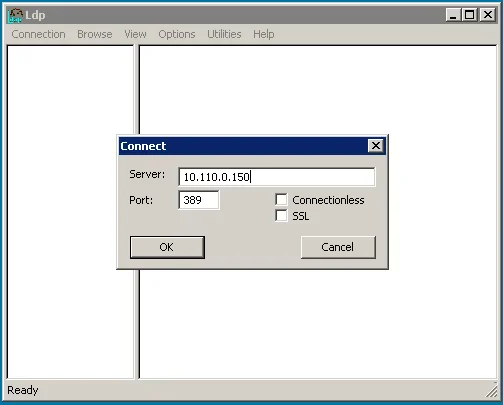
- Select connect menu in top right
- Add the name of the serfer for server
- port: 636
- selset SSL
- click OK