Nextcloud SSO
Page content
Nextcloud is a suite of client-server software for creating and using file hosting services. Nextcloud application functionally is similar to Dropbox.
Configuring Keycloak and Nextcloud
Keycloak side
- login to keycloak using the admin account
- Under
Clients, create a new client withClient ID“nextcloud” andRoot URL“cloud.devopstales.intra” - On next screen, under the
Settingstab, changeAccess Typefrompublictoconfidential, then Save - Go the the
Credentialstab, note theSecret - OPTIONAL: If there is no registered user yet you can create a test user: go to
Users, click theAdd Userbutton, fill theUsernamewith “test” and save. Then go to theCredentialstab, put the new password, toggle theTemporaryoption toOFF, pressReset Passwordand confirm
Keycloak is now ready to be used for Nextcloud.
NextCloud side
- login to your Nextcloud instance with the admin account
- Click on the user profile, then
Apps
- Go to
Social & communicationand install theSocial Loginapp - Go to
Settings(in your user profile) theSocial Login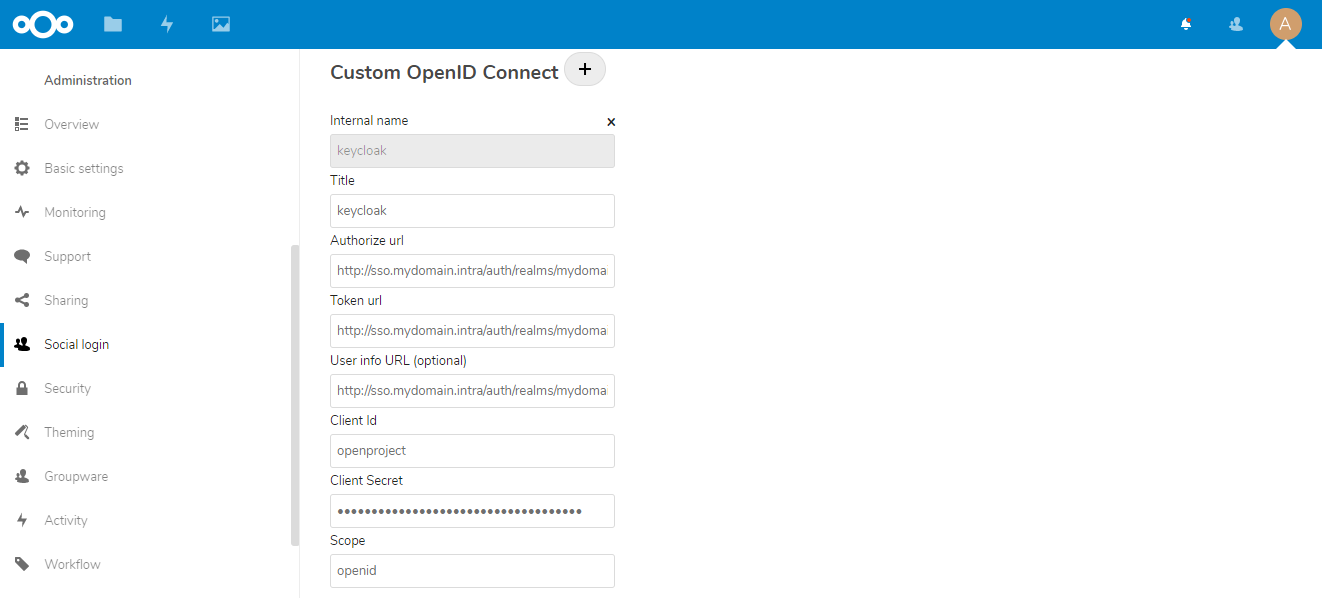
- Add a new
Custom OpenID Connectby clicking on the+to its side - Fill the following:
Title-> “keycloak”Authorize url->https://keycloak.devopstales.intra:8443/auth/realms/mydomain/protocol/openid-connect/authToken url->https:/keycloak.devopstales.intra:8443/auth/realms/mydomain/protocol/openid-connect/tokenClient id-> “nextcloud”Client Secret-> put the secret you noted down during the Keycloak configurationScope-> “openid”
- Press
Save
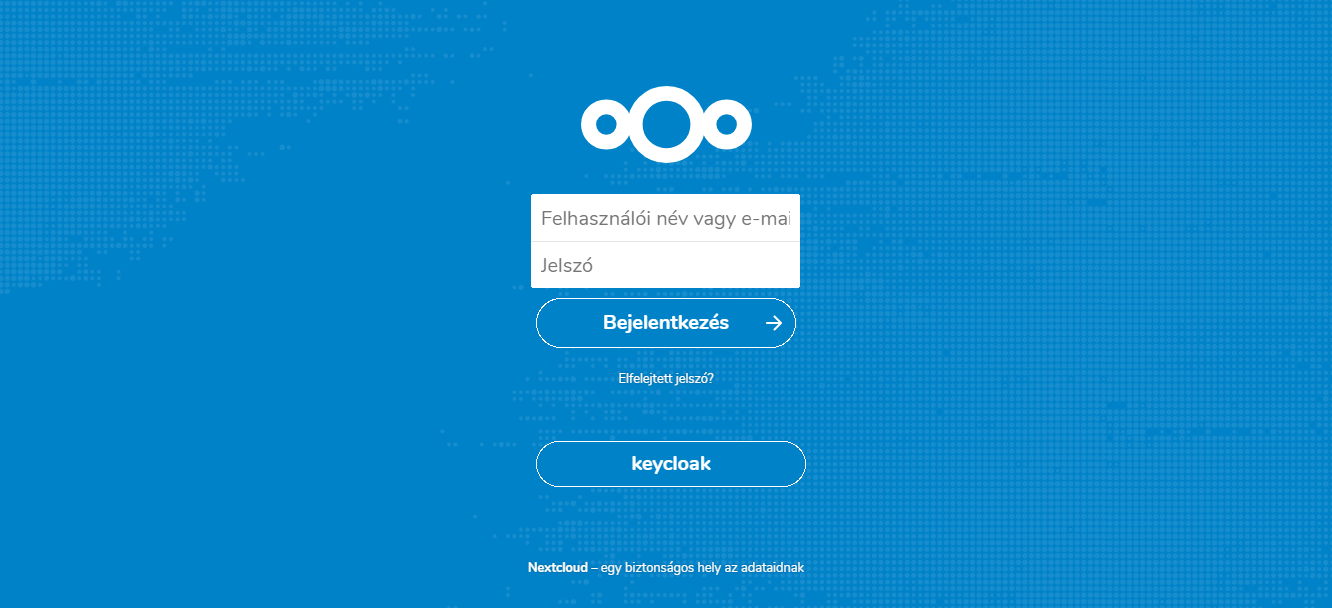
Your Nextcloud instance is now configured. Log out and log back in using the Alternative Logins -> keycloak method on the login page. It should redirect you to a keycloak auth form where you can log in with a registered keycloak user, then back to Nextcloud where you are now logged.