How to configure Windows RADIUS and Unifi Controller
In this post I will show how to set up a RADIUS server on Windows Server 2019 to provide 802.1X Wireless Connections to
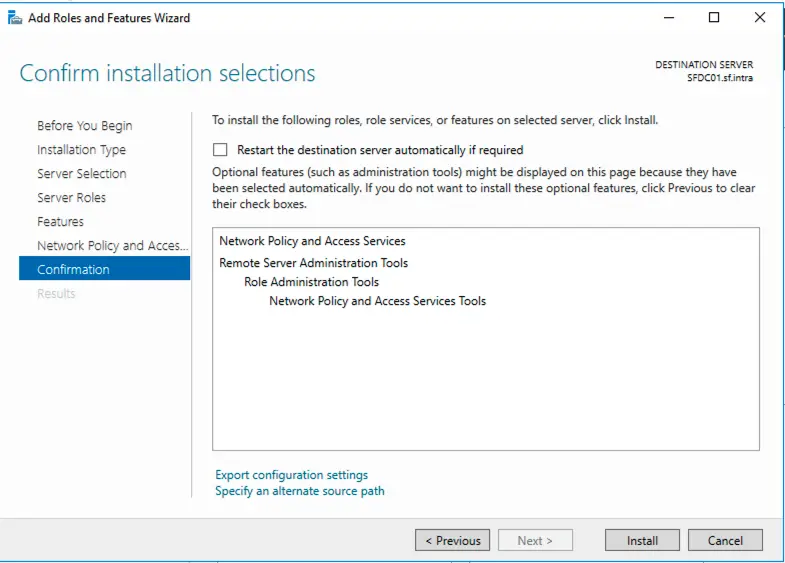
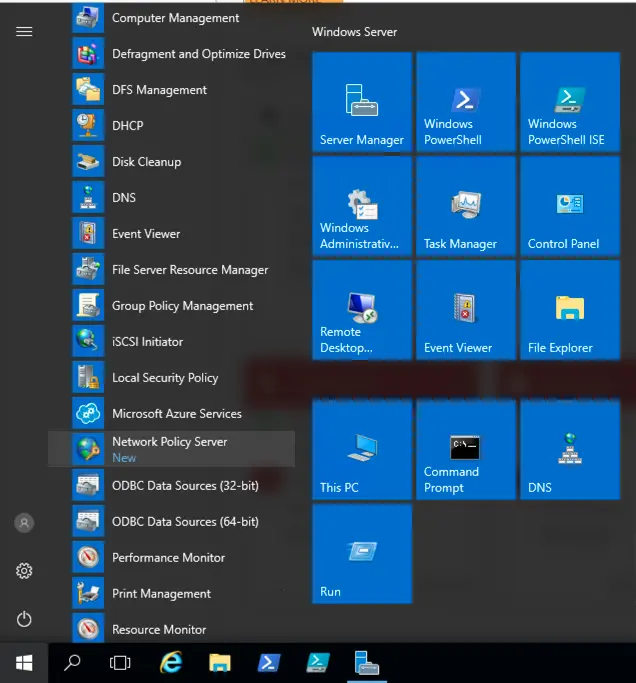
Install the RADIUS server role
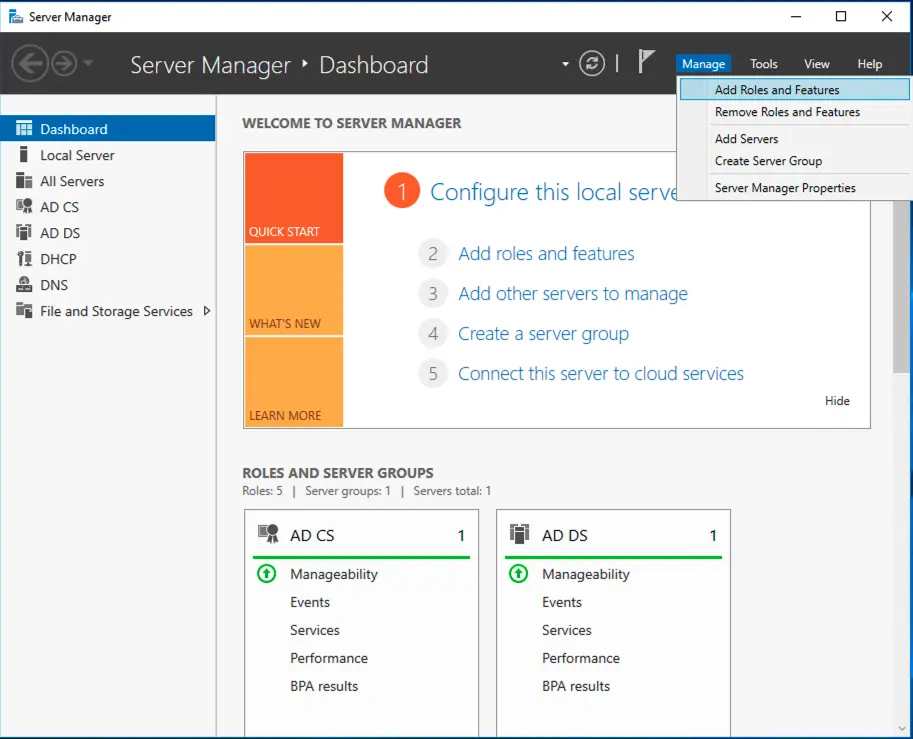
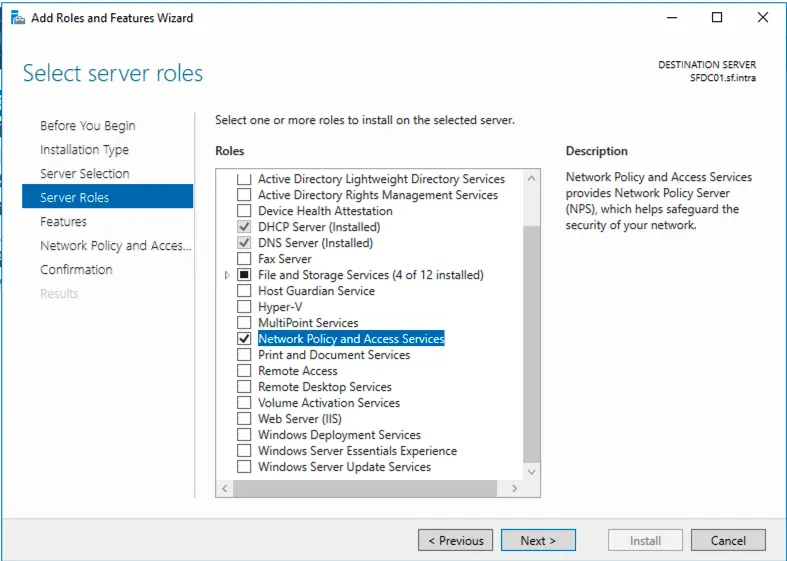
So first I will install the Network Policy and Access Services (NPAS) server role either on a domain controller or member server.

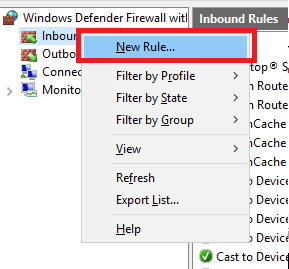
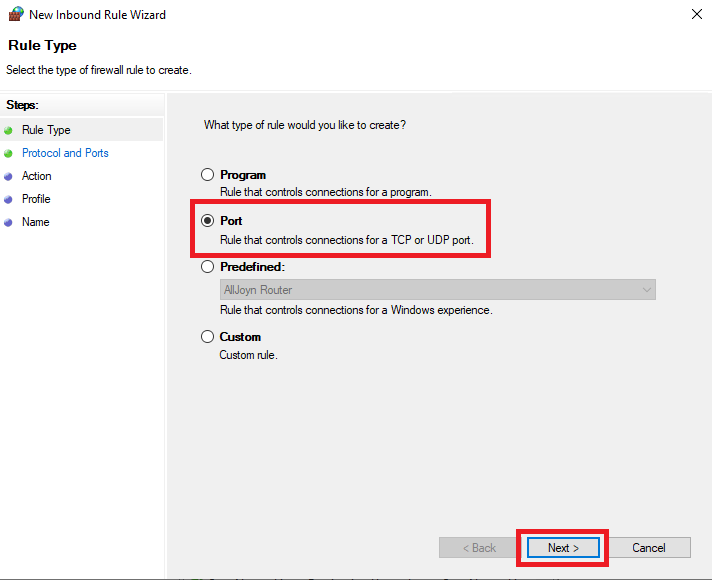
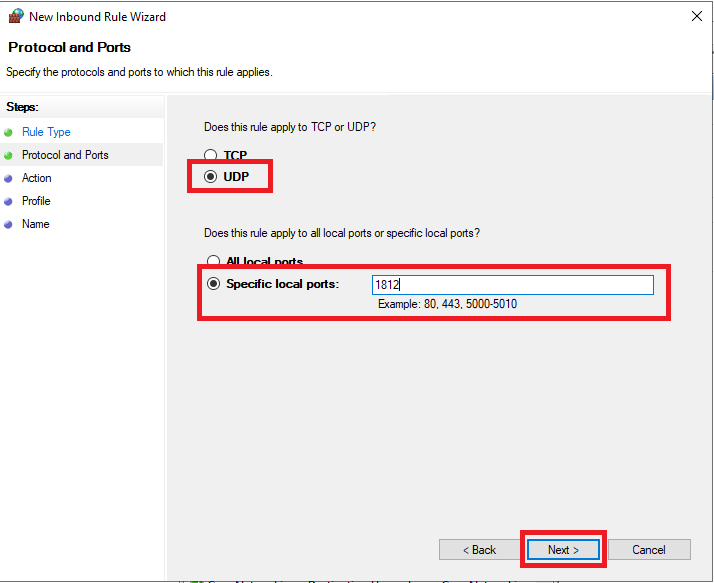
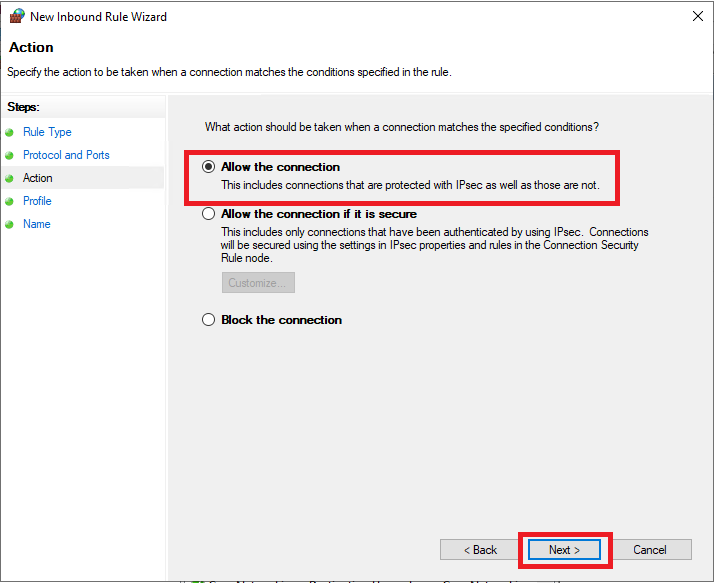
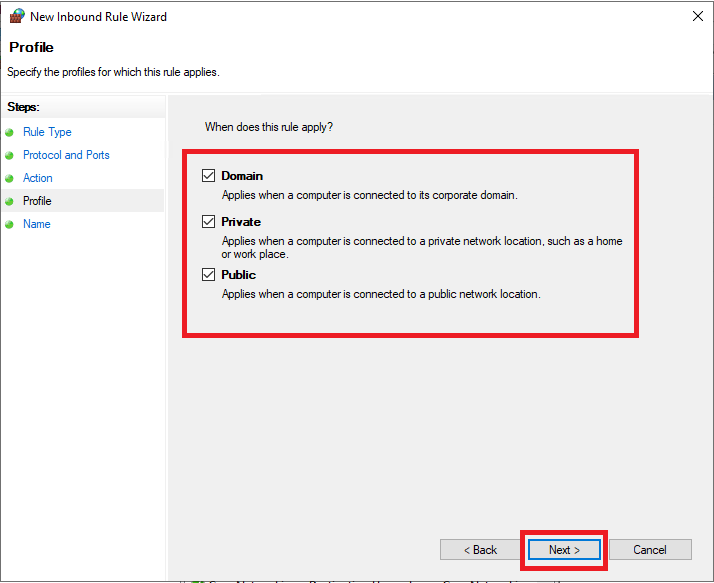
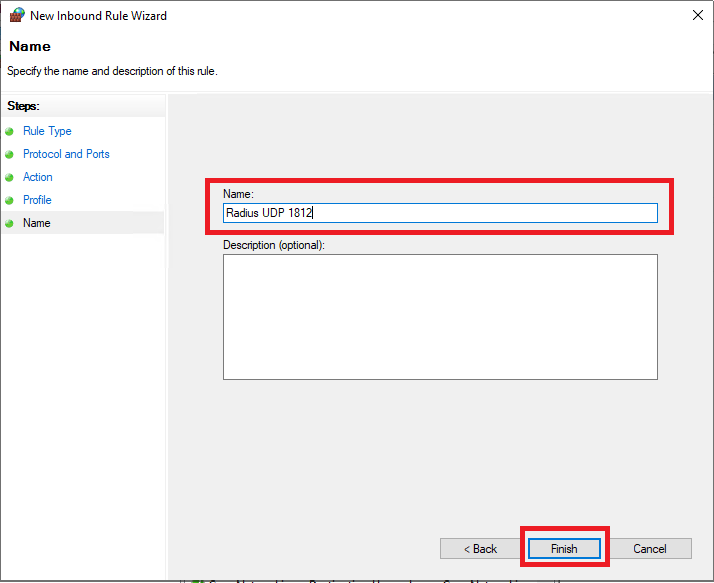
Configure Firewall
Open Windows Defender Firewall with Advanced Security and create a New rule for the incoming port 1812 and 1813:
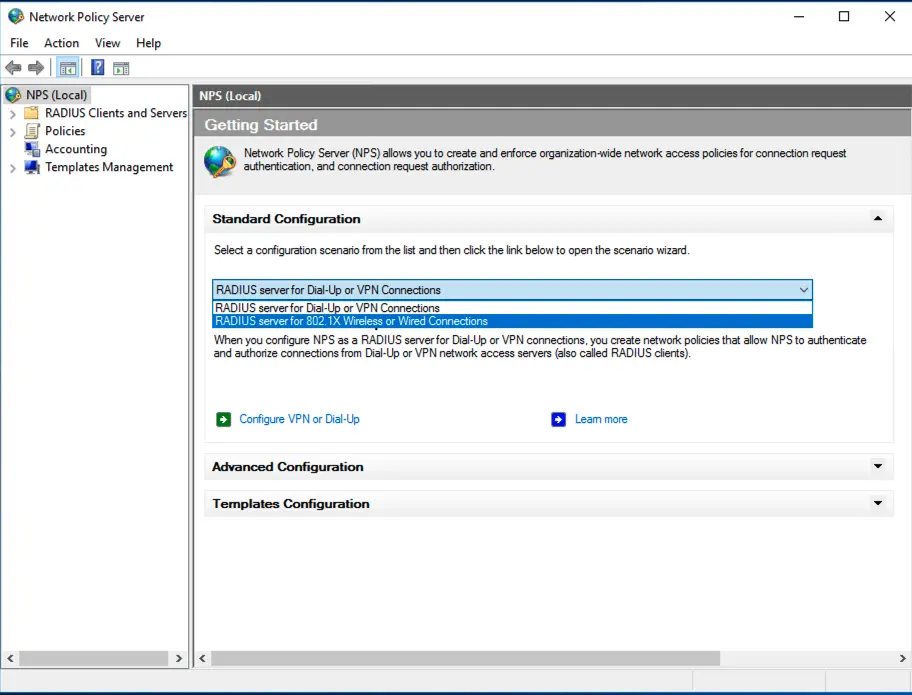
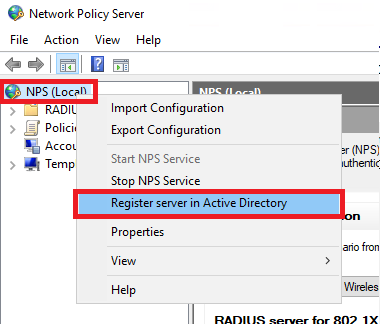
Configure RADIUS server
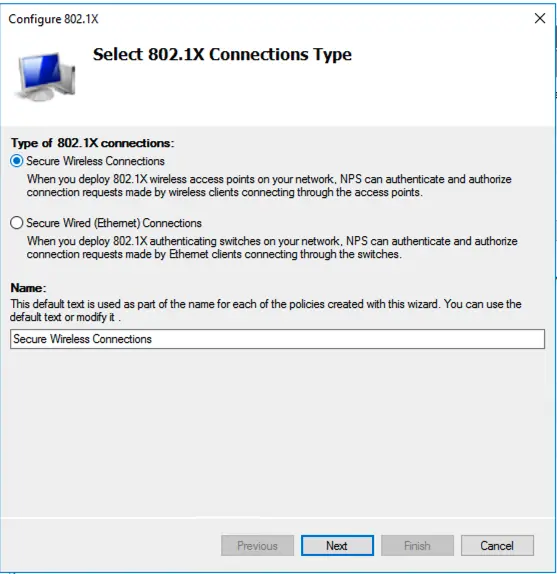
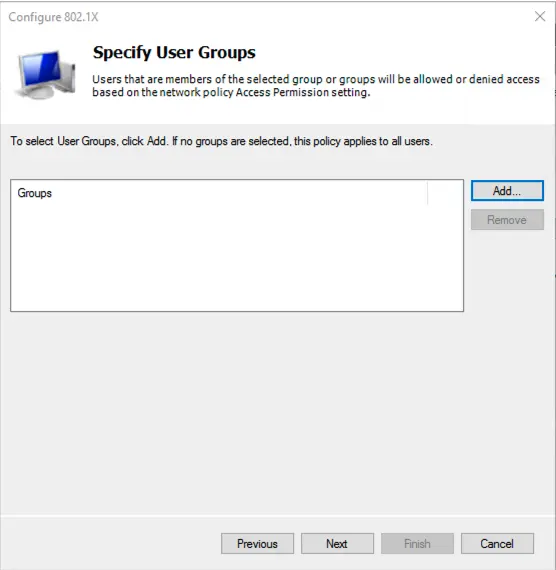
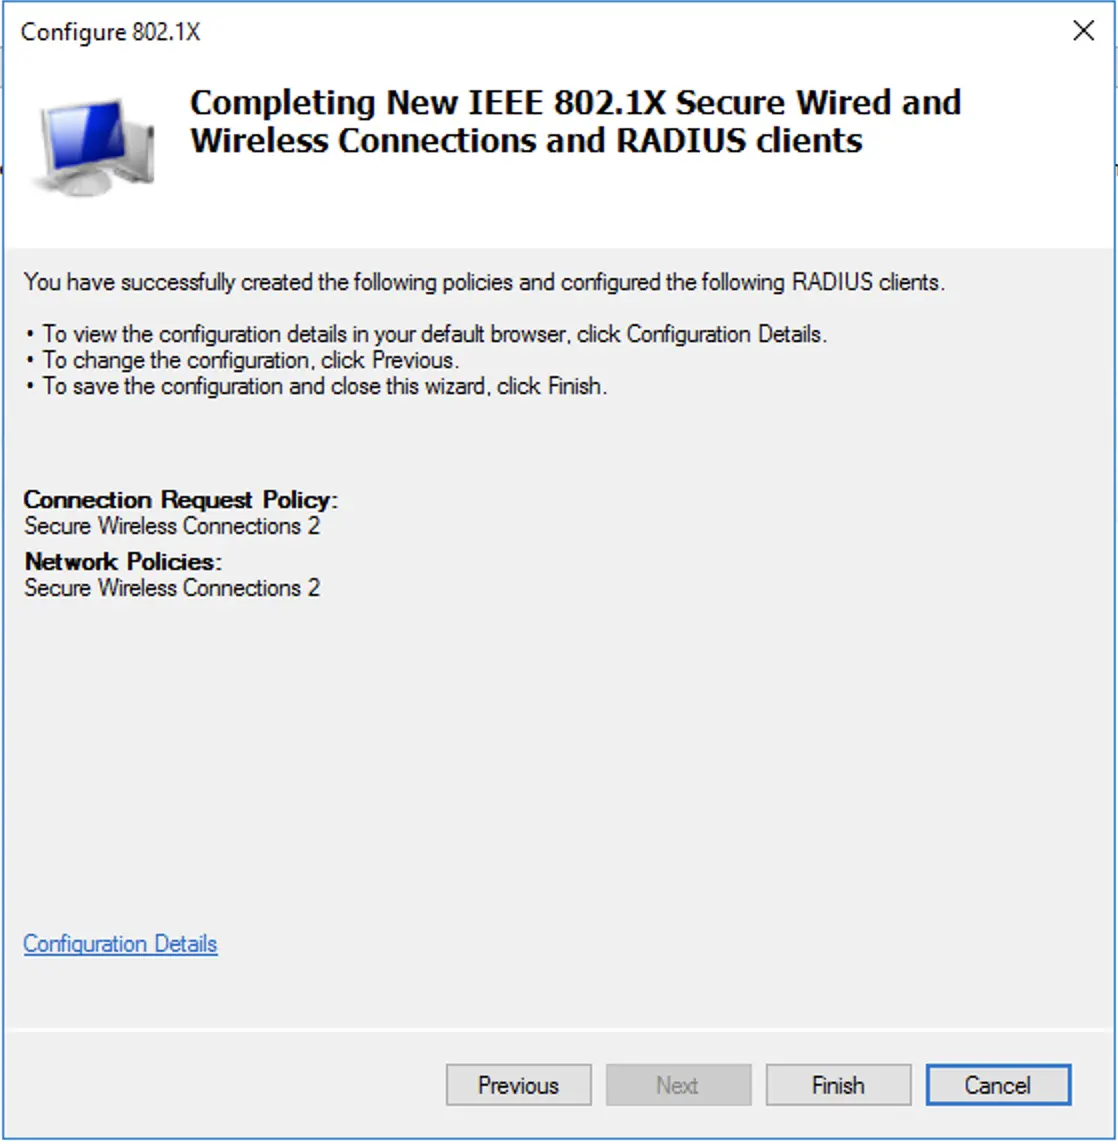
Open the Network Policy Server console and select the RADIUS server for 802.1X Wireless or Wired Connections template to configure NPS by using the wizard.
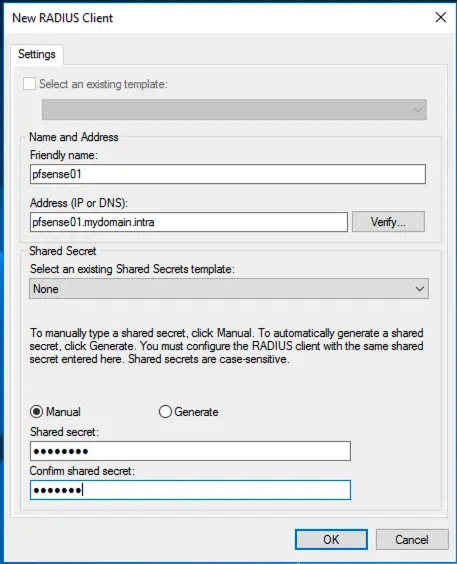
In the example I added pfsense as client but you need to add all the Unifi APs.

Connect Unifi Controller to RADIUS server
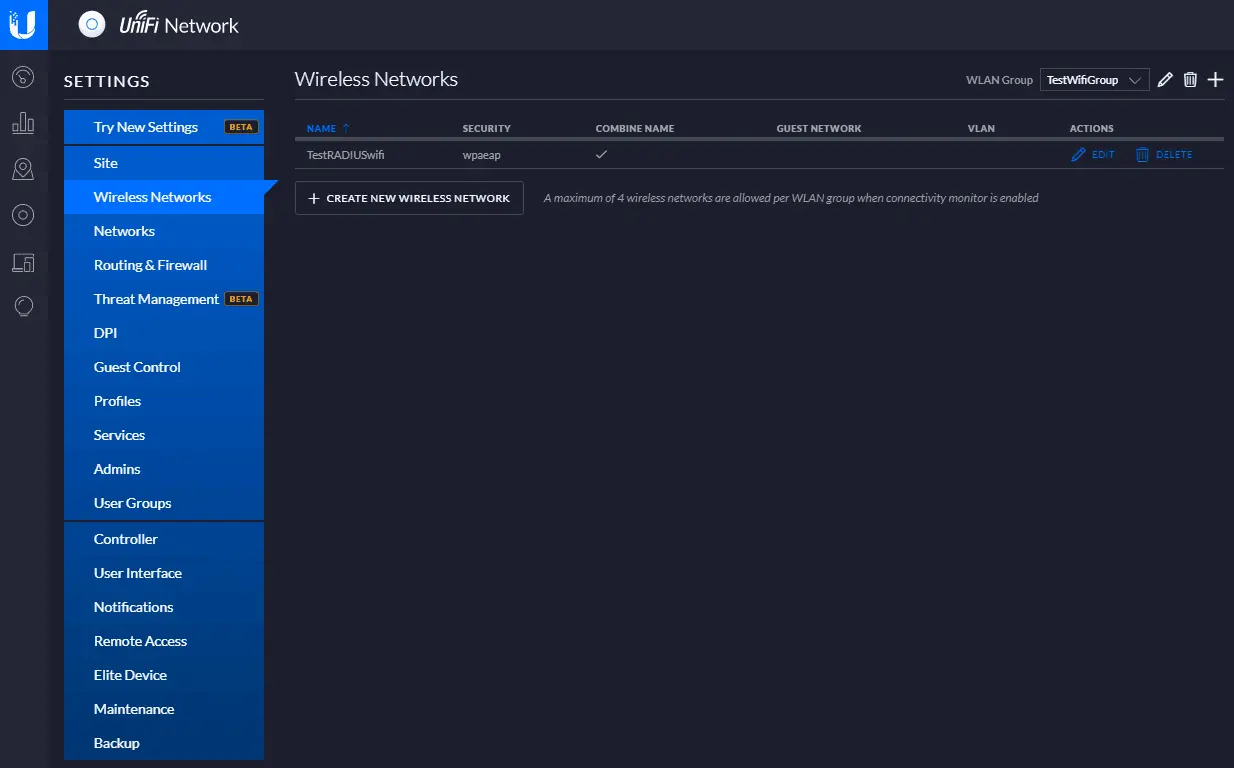
First we need to create a new wireless network in our Unifi controller UI. We need to set it to WPA Enterprise and enable Security Settins
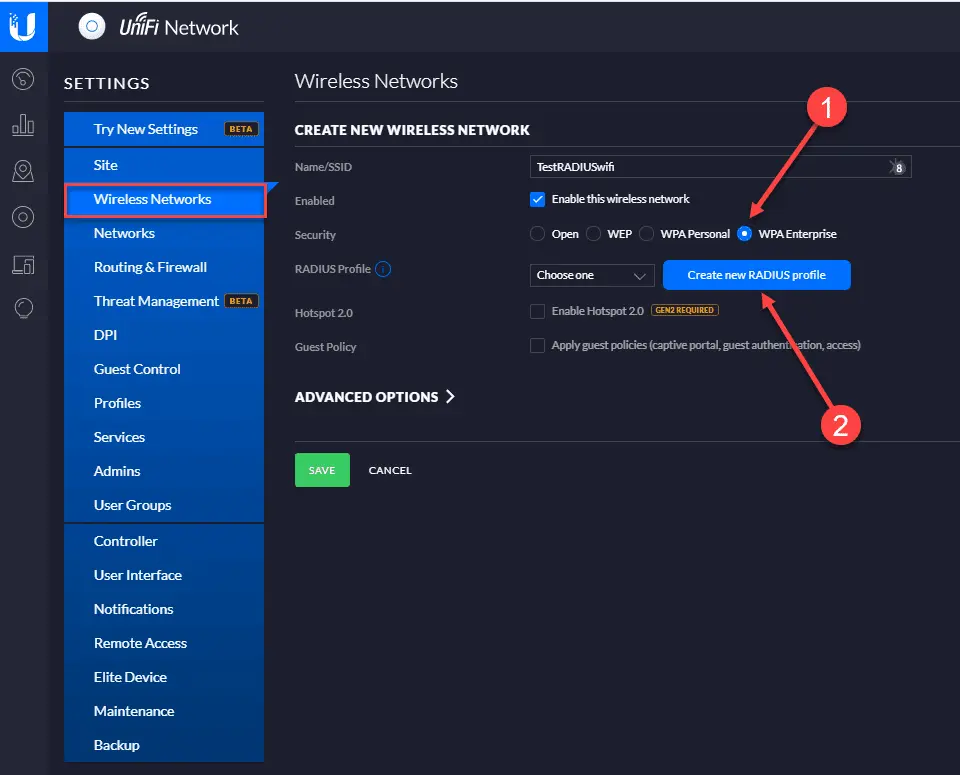
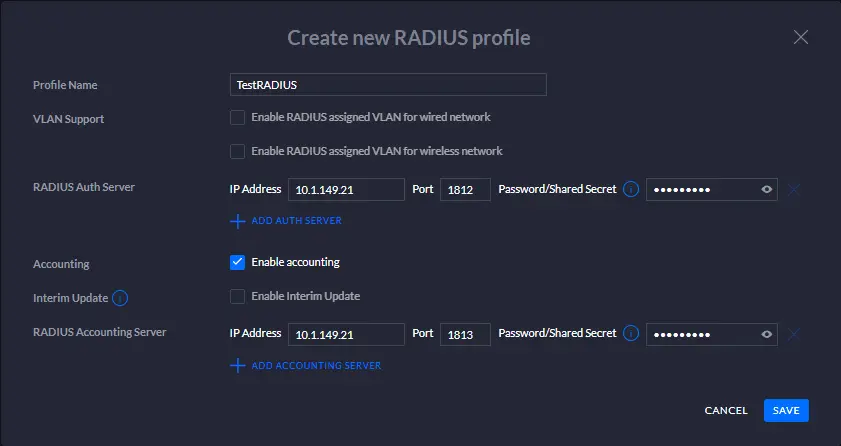
In the Create new RADIUS profile dialog box, name the profile and set the addresses for both the RADIUS Auth Server and the Accounting server.
In the Password/Shared Secret, enter the shared password that will be used by the Unifi APs to authenticate with the RADIUS server.